Friedrich Ewald My Personal Website
Recent Posts
-
Access private repositories in Go
Good article how to access a private repository via
go get. TLDR: For SSH access:$ git config --global url."[email protected]:".insteadOf "https://gitlab.com/" $ cat ~/.gitconfig [url "[email protected]:"] insteadOf = https://gitlab.com/ -
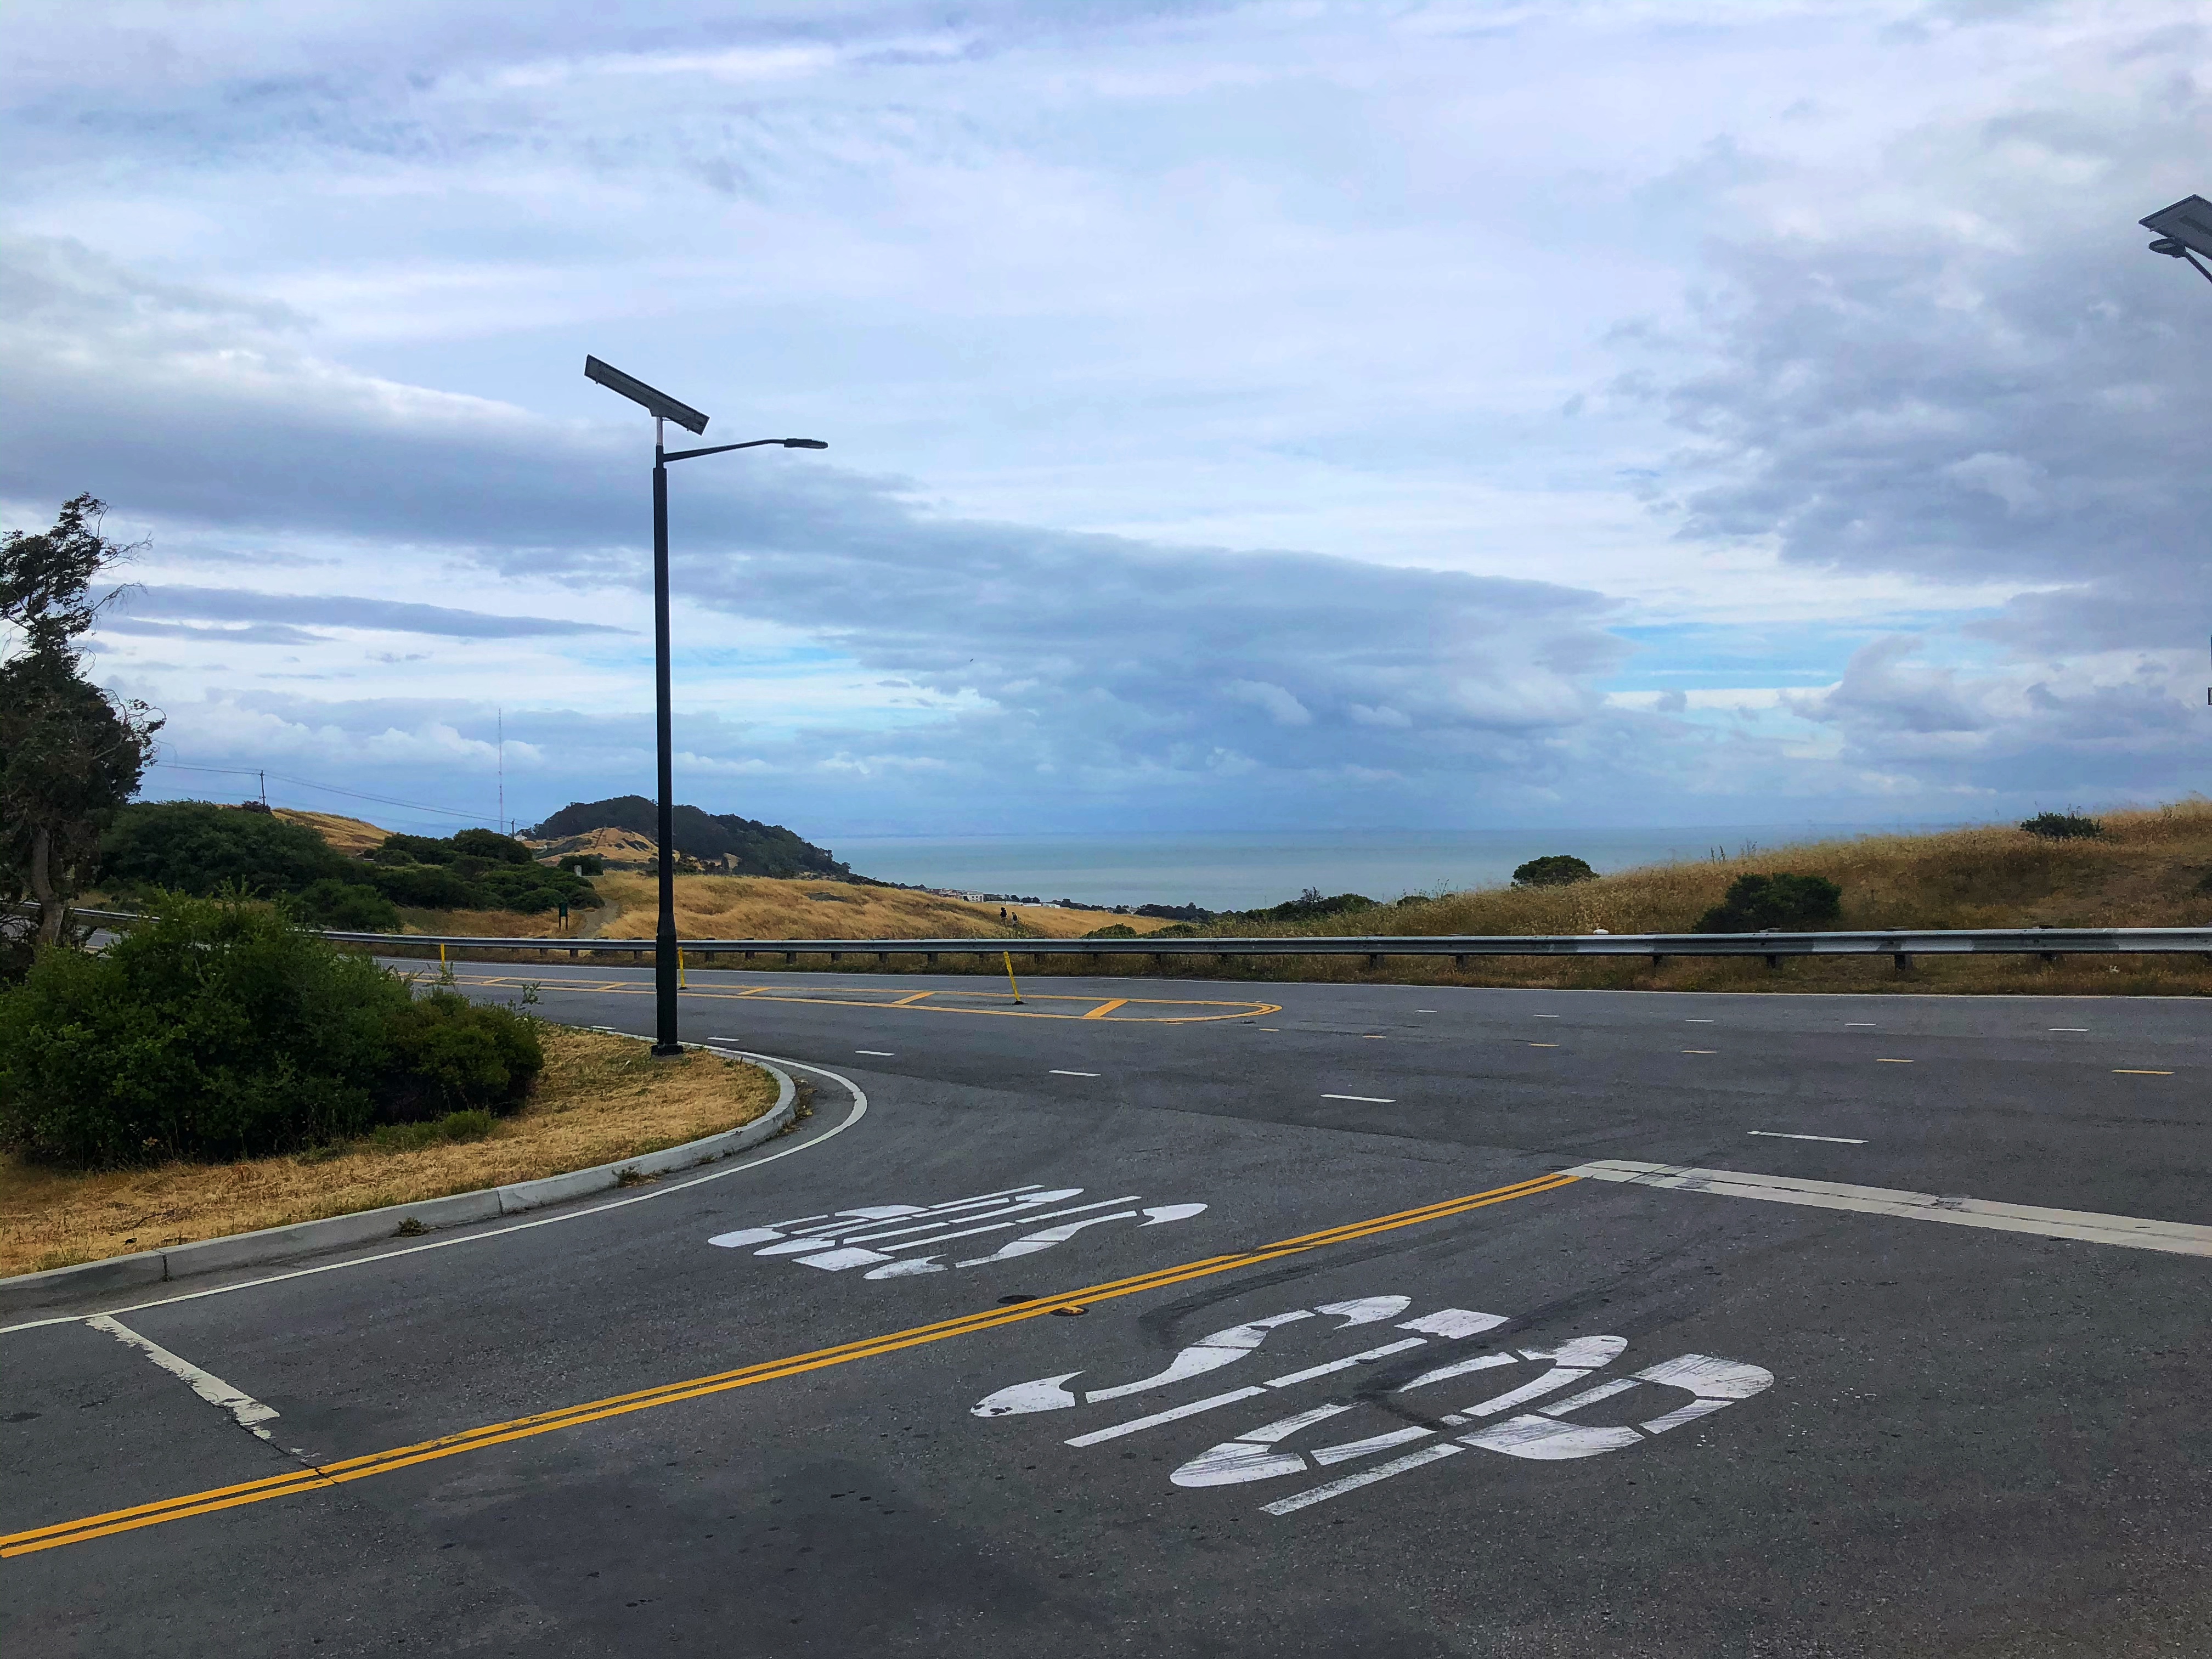
Sunday Afternoon in the Bay Area

-
Temporary Namespace for Kubernetes
To set a temporary namespace for k8s simply create an alias like so:
Then use it:alias k='kubectl -n NAMESPACE 'After the shell session ends it is set to default.k get pods -
Rt.live
Nice visualization of the new infections by state: rt.live. Update 2022/05/10: The website is no longer active and I removed the link.
-
Apple's COVID Mobility Data
Apple’s data has now been published as an R package. The visualizations for the linked blog post can be found in this repository.