Welcome to my personal website. I use this space to share some of my thoughts and software that I write in my free time. Sometimes I also publish photos. If you want to get in touch please use LinkedIn or Mastodon.
Following from my post from 2022 about testing Rails application with a static server, I wanted to mock an API during a test. The reason for this is that I like to keep the external dependencies to a minimum.
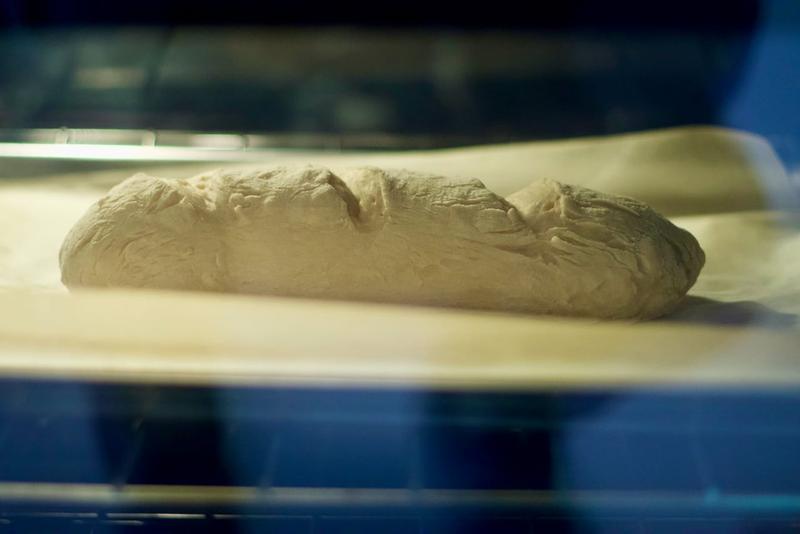
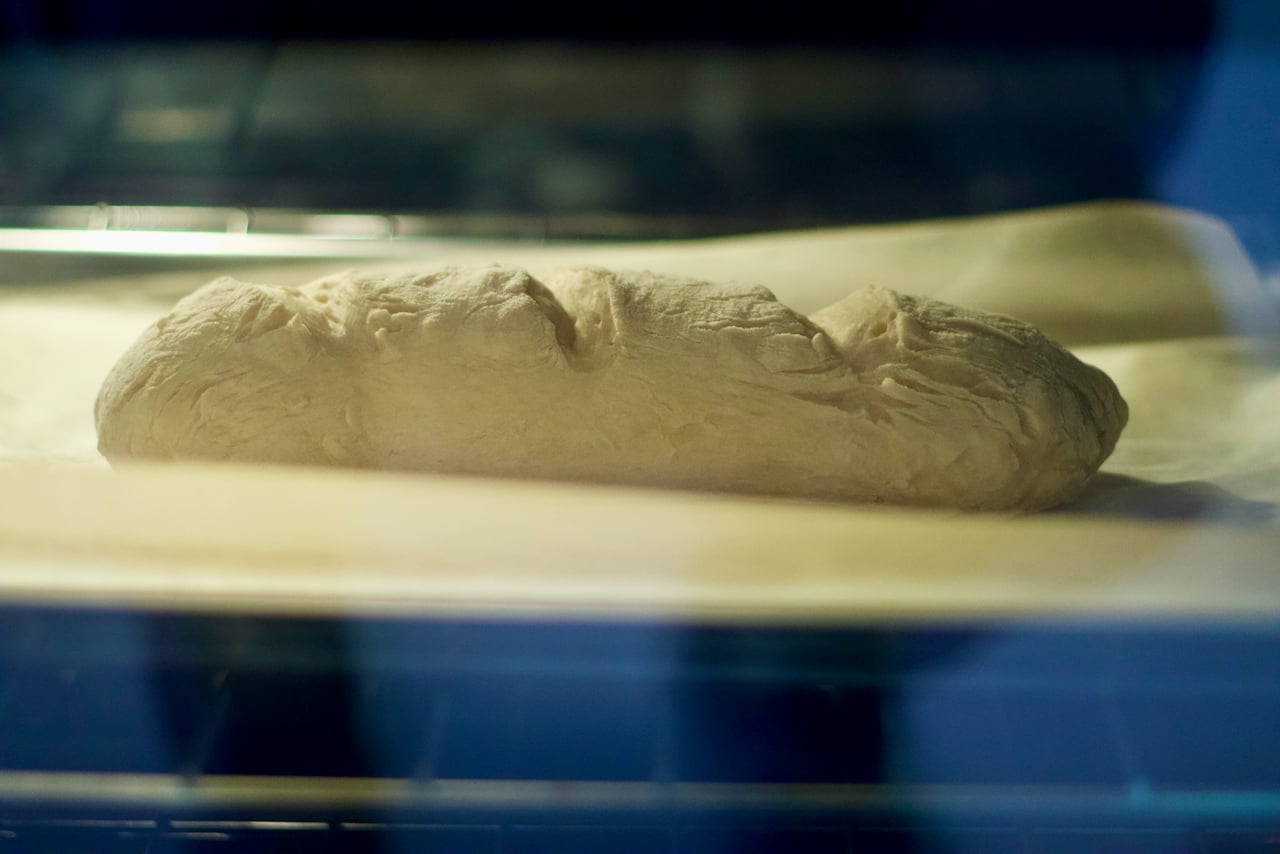
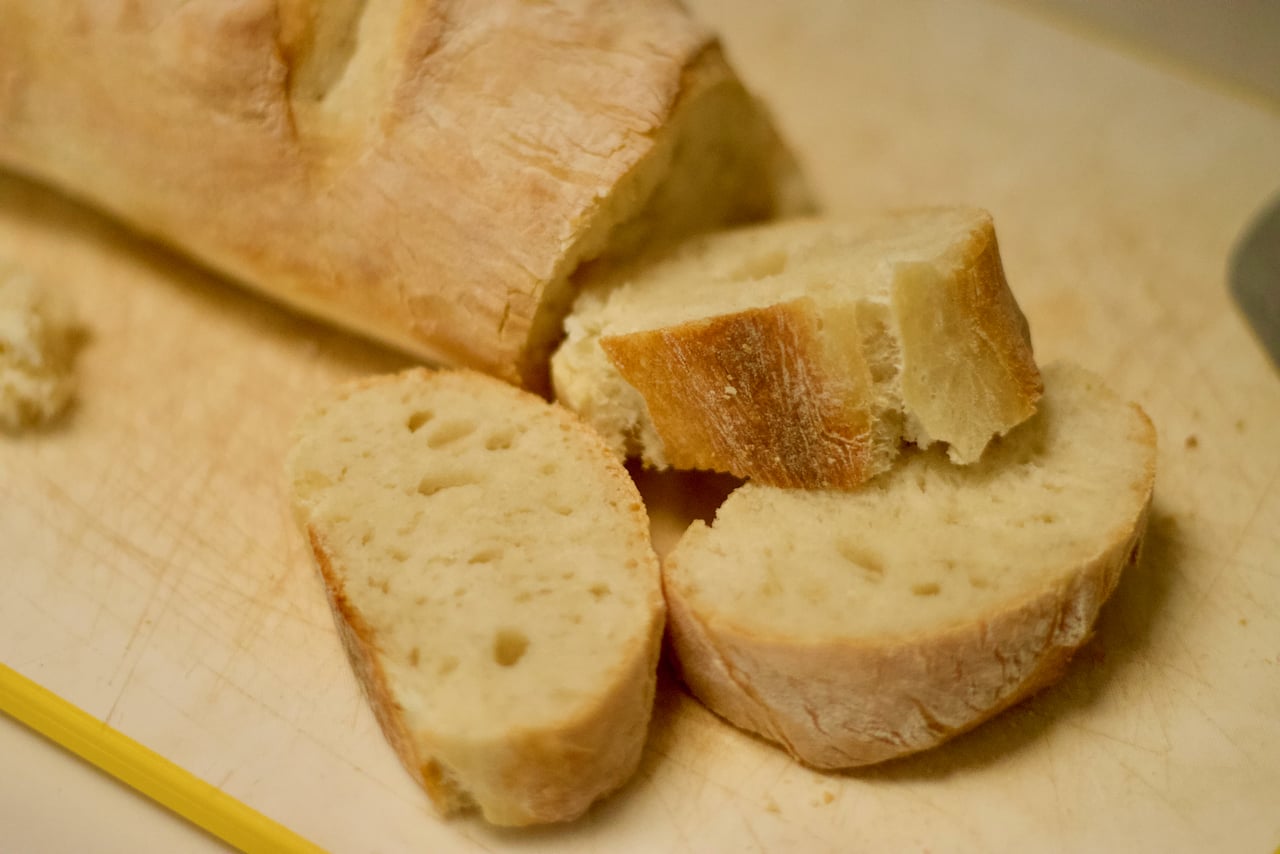
I made my first bread today from scratch. The recipe is very simple:
430 grams flour (King Arthurs bread flour)
2 teaspoons coarse salt
1 bag (6-7 grams) of instant yeast
1 1/2 cups of water
Mix everything gently together in a bowl until the dough becomes sticky. Then proof at 95 Fahrenheit for 1 hour until the dough doubles in size.
Preheat the oven to 475 Fahrenheit and bake for 20 minutes.
The results were good for a first attempt, but I will try to proof for 2 hours next to achieve fluffier results.
I am currently working on a small Python project with a relatively large memory footprint. I wanted to
analyze the usage in detail and realized that I wasn’t aware of any good Python memory profiler. After
some searching I found the builtin package tracemalloc
(Trace memory allocation). Especially interesting to me is the capability to take snapshots at different
points in time and then compare the delta between those snaphots. The following snippet illustrates this.
This is fine for smaller code bases where I have full control over the source. It requires however a
lot of editing and manual filtering of frames and taking snapshots at the right time.
Another interesting solution is Bloombergs memray. This allows
to run a whole Python application and save the snapshots into a file. From there memray can either
create a table or a flamegraph to see the memory consumption over time.
Memray can be used like this:
pip3 install memray

# Run application and save snapshots
memray run my_app.py

# Display snapshots
memray flamegraph memray-test.py.94623.bin
This generates a HTML file which can be opened in any browser.