Welcome to my personal website. I use this space to share some of my thoughts and software that I write in my free time. Sometimes I also publish photos. If you want to get in touch please use LinkedIn or Mastodon.
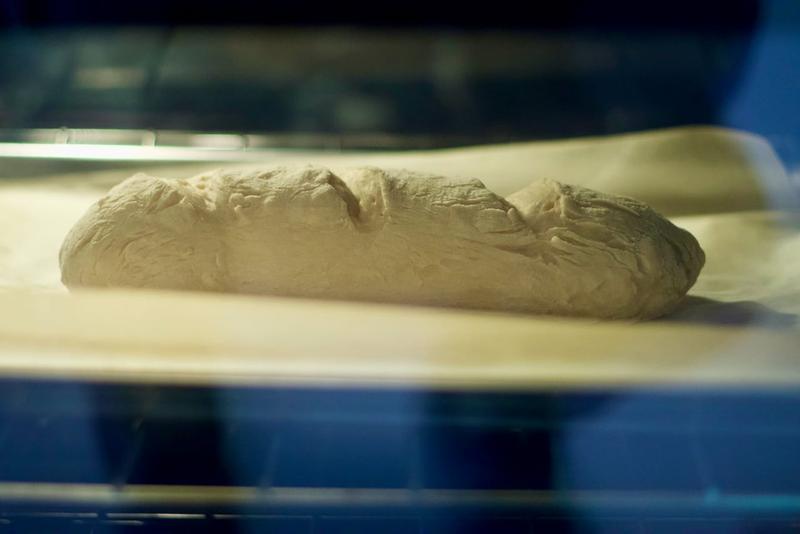
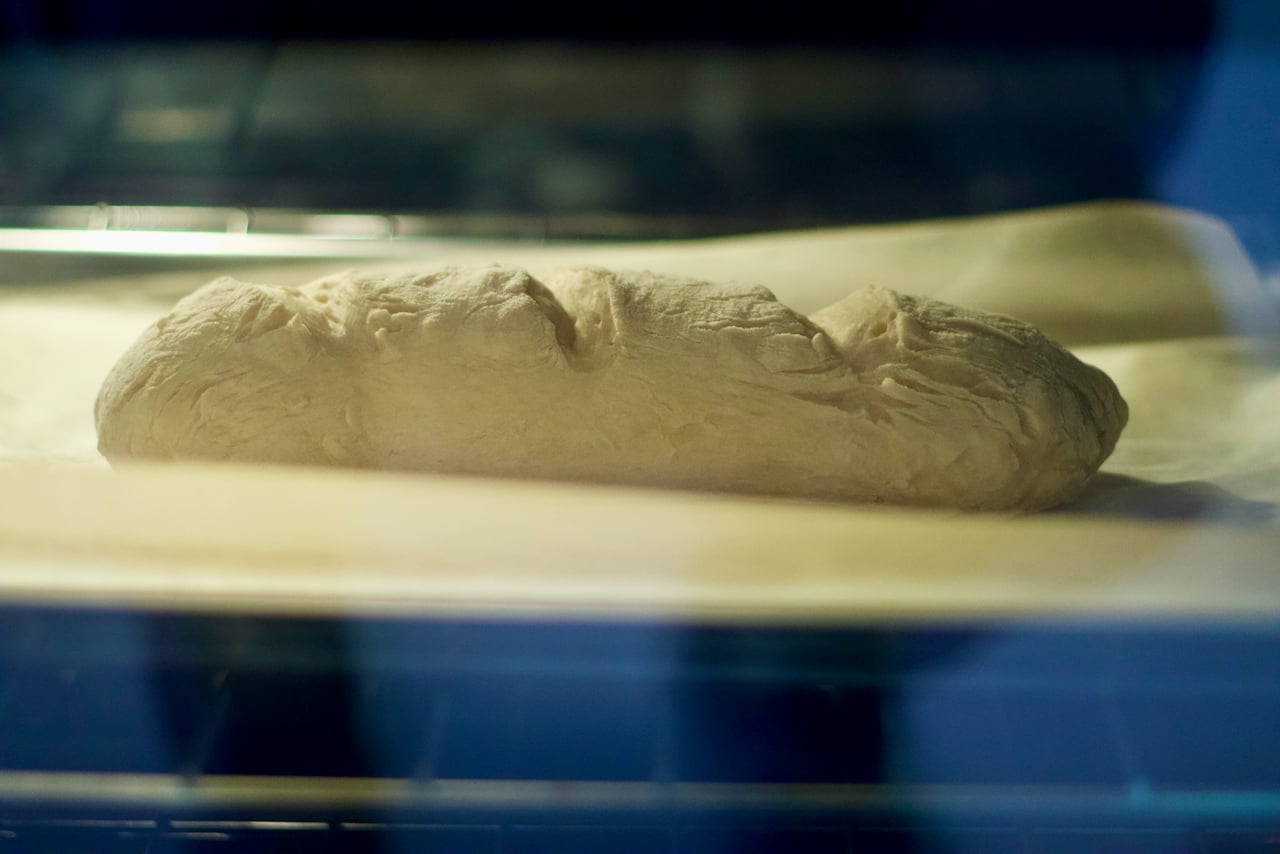
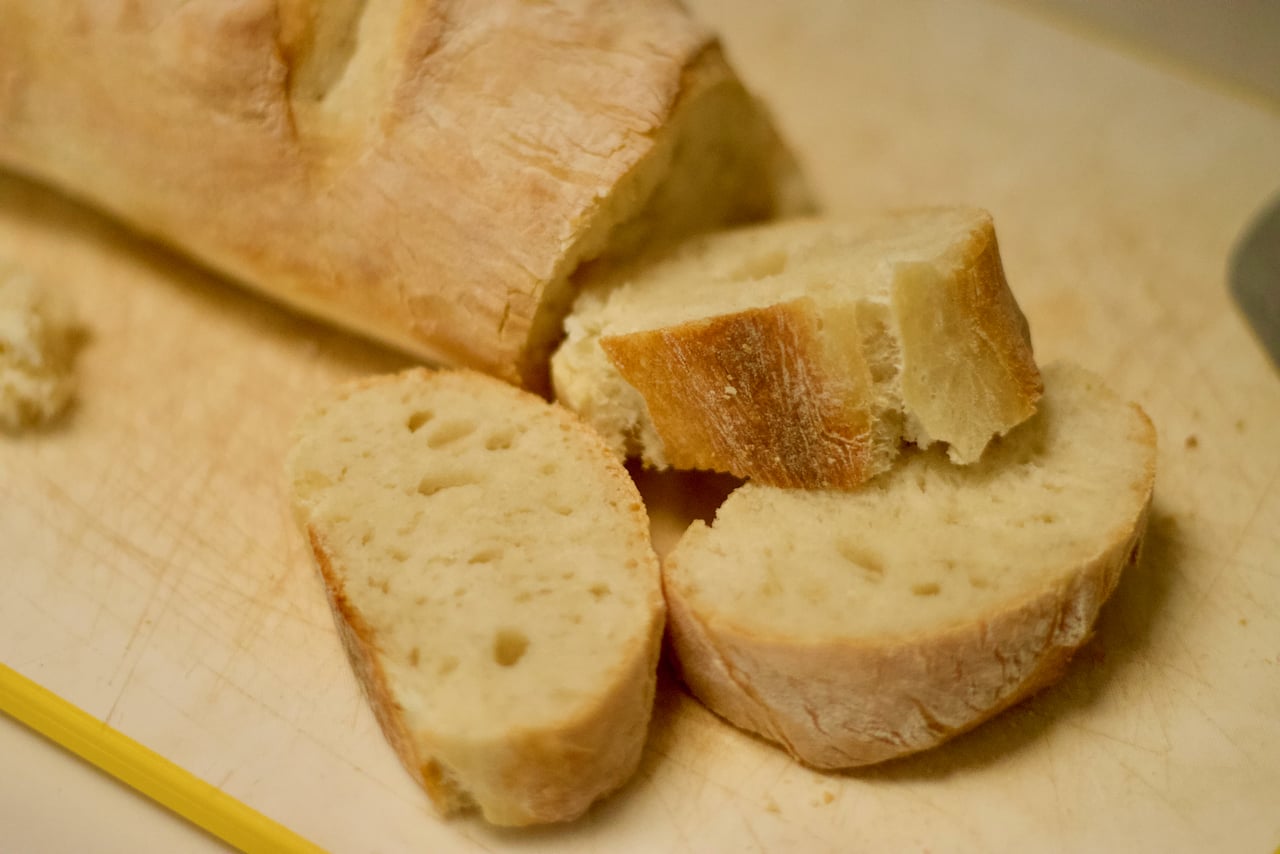
I made my first bread today from scratch. The recipe is very simple:
430 grams flour (King Arthurs bread flour)
2 teaspoons coarse salt
1 bag (6-7 grams) of instant yeast
1 1/2 cups of water
Mix everything gently together in a bowl until the dough becomes sticky. Then proof at 95 Fahrenheit for 1 hour until the dough doubles in size.
Preheat the oven to 475 Fahrenheit and bake for 20 minutes.
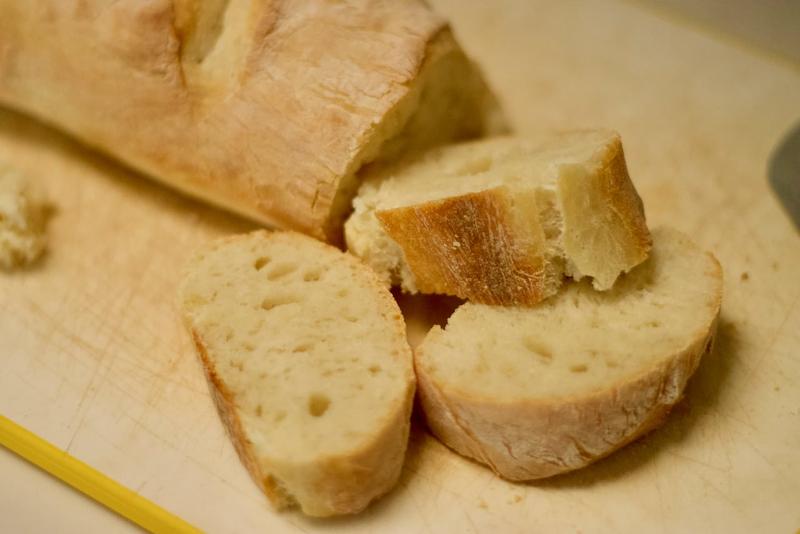
The results were good for a first attempt, but I will try to proof for 2 hours next to achieve fluffier results.
I am currently working on a small Python project with a relatively large memory footprint. I wanted to
analyze the usage in detail and realized that I wasn’t aware of any good Python memory profiler. After
some searching I found the builtin package tracemalloc
(Trace memory allocation). Especially interesting to me is the capability to take snapshots at different
points in time and then compare the delta between those snaphots. The following snippet illustrates this.
This is fine for smaller code bases where I have full control over the source. It requires however a
lot of editing and manual filtering of frames and taking snapshots at the right time.
Another interesting solution is Bloombergs memray. This allows
to run a whole Python application and save the snapshots into a file. From there memray can either
create a table or a flamegraph to see the memory consumption over time.
Memray can be used like this:
pip3 install memray

# Run application and save snapshots
memray run my_app.py

# Display snapshots
memray flamegraph memray-test.py.94623.bin
This generates a HTML file which can be opened in any browser.
I recently updated this blog to Ruby 3.2.0 which was released on Dec 25, 2022.
I expected this to be a minor update since I came from Ruby 3.1.2. However, I ran into some problems that I had to solve.
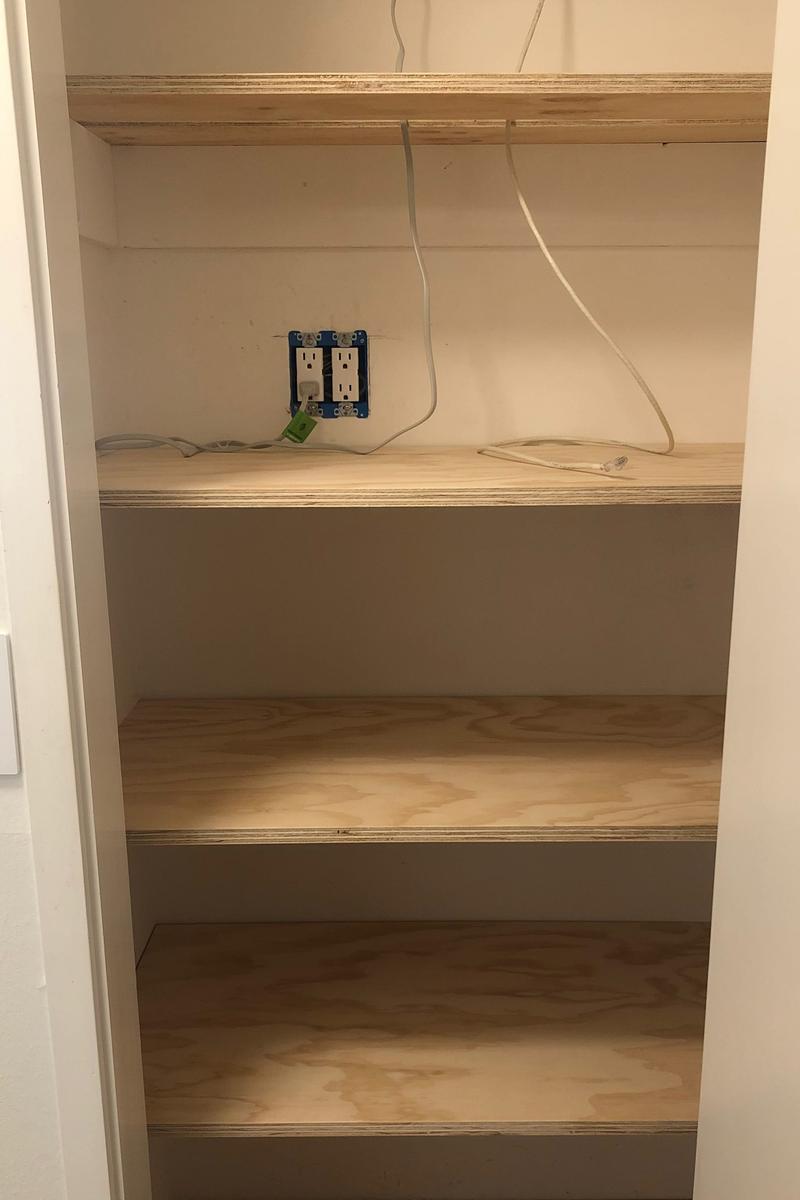
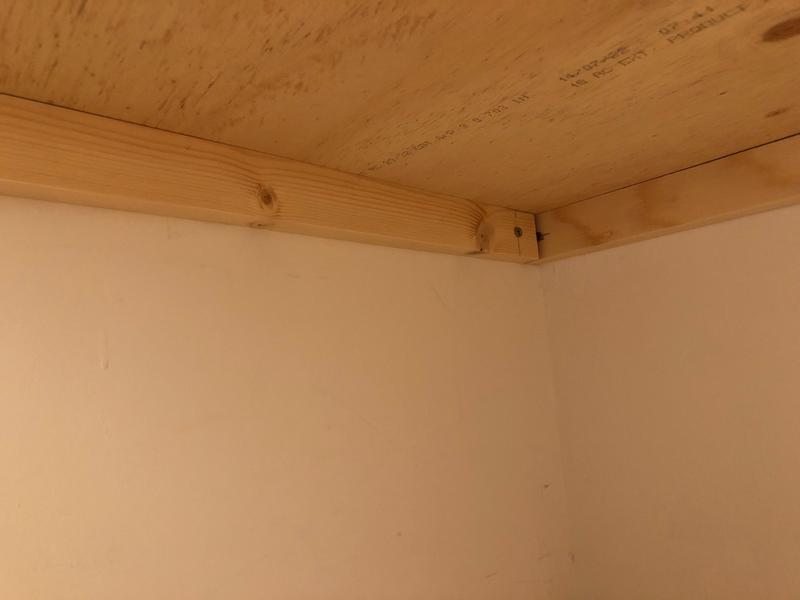
I never liked having the router in full display in the living room. I routed the fiber connection into a closet in our hallway with the plan on making this a “tech closet”. I had to route electricity to the closet and install some shelves. The goal was to have a space for the router, my printer (that I only use ocassionally), some other hardware like a Raspberry Pi and to be able to charge a Dyson vacuum cleaner.
The (almost) finished closet. The cover plate for the outlet was not available at the time.
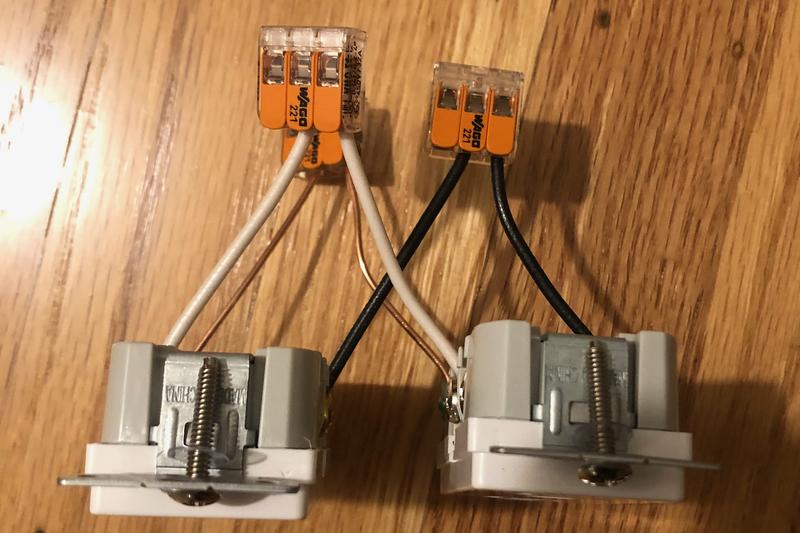
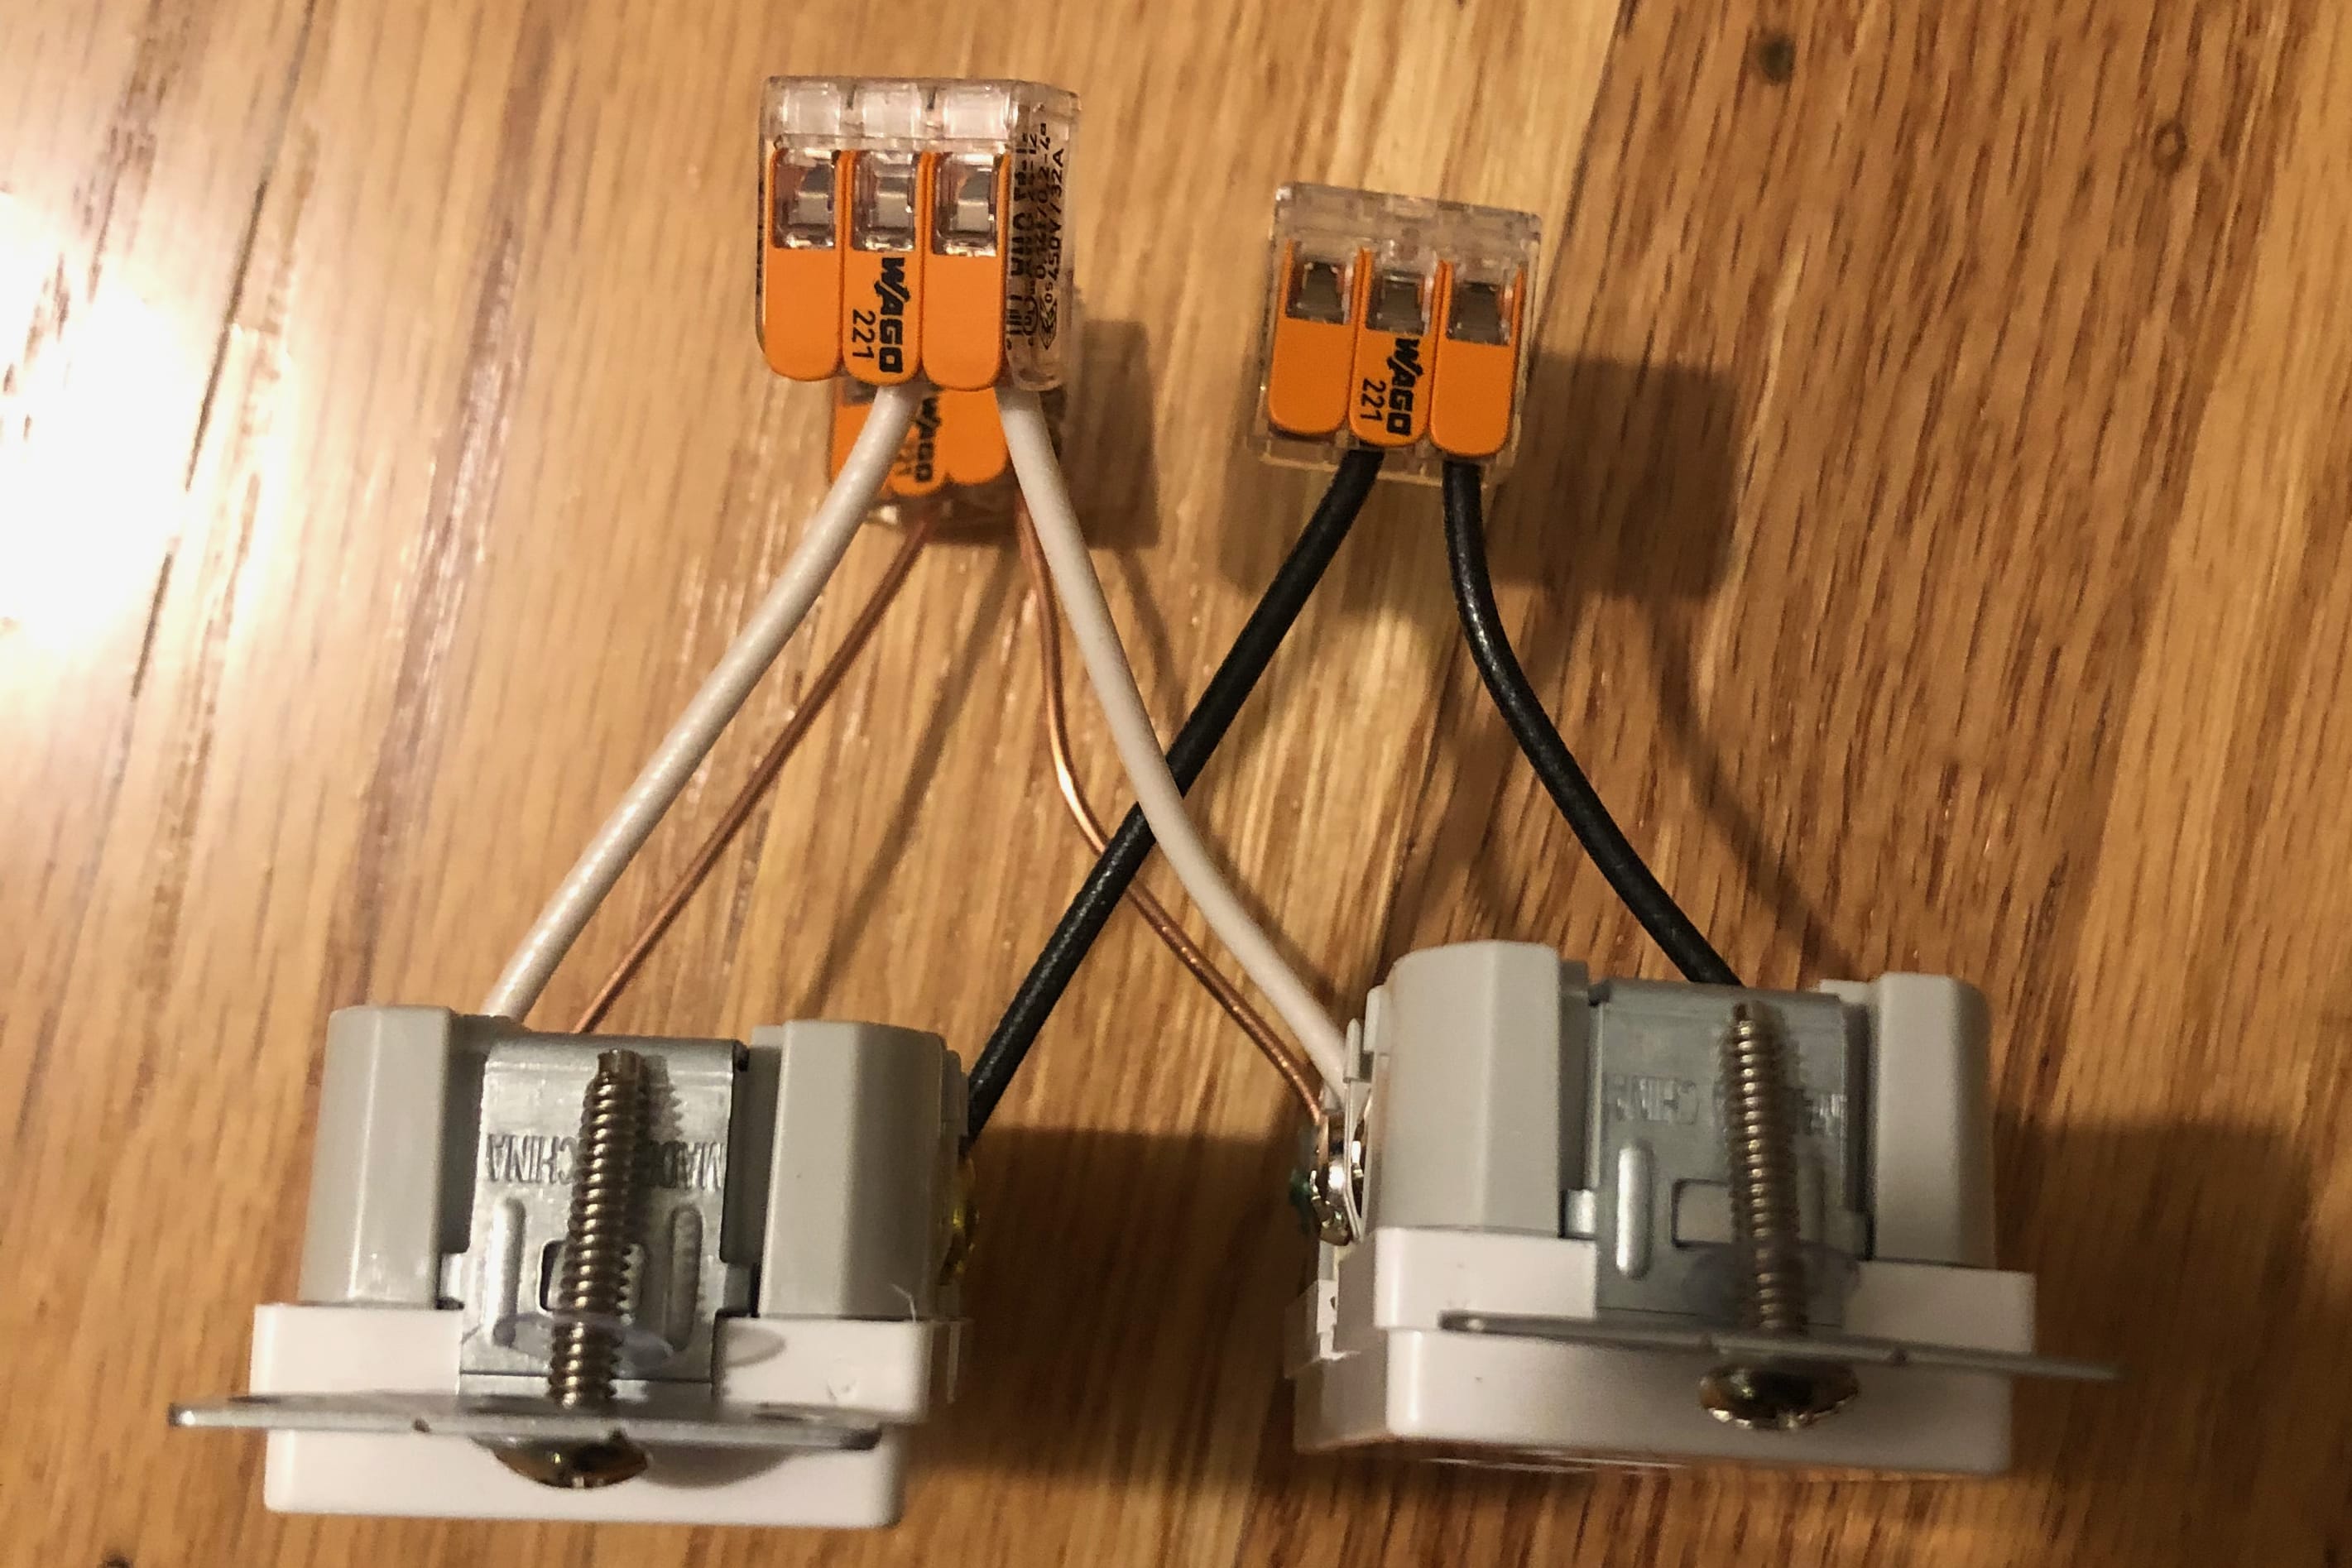
I connected the outlets with Wago connectors before installing them. This avoided having to install the outlets in an awkward position and sped the whole process up significantly.
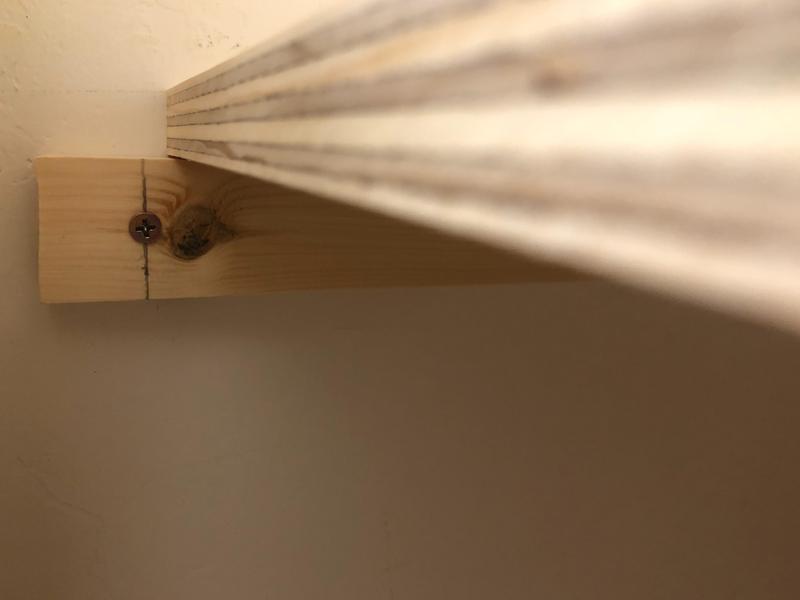
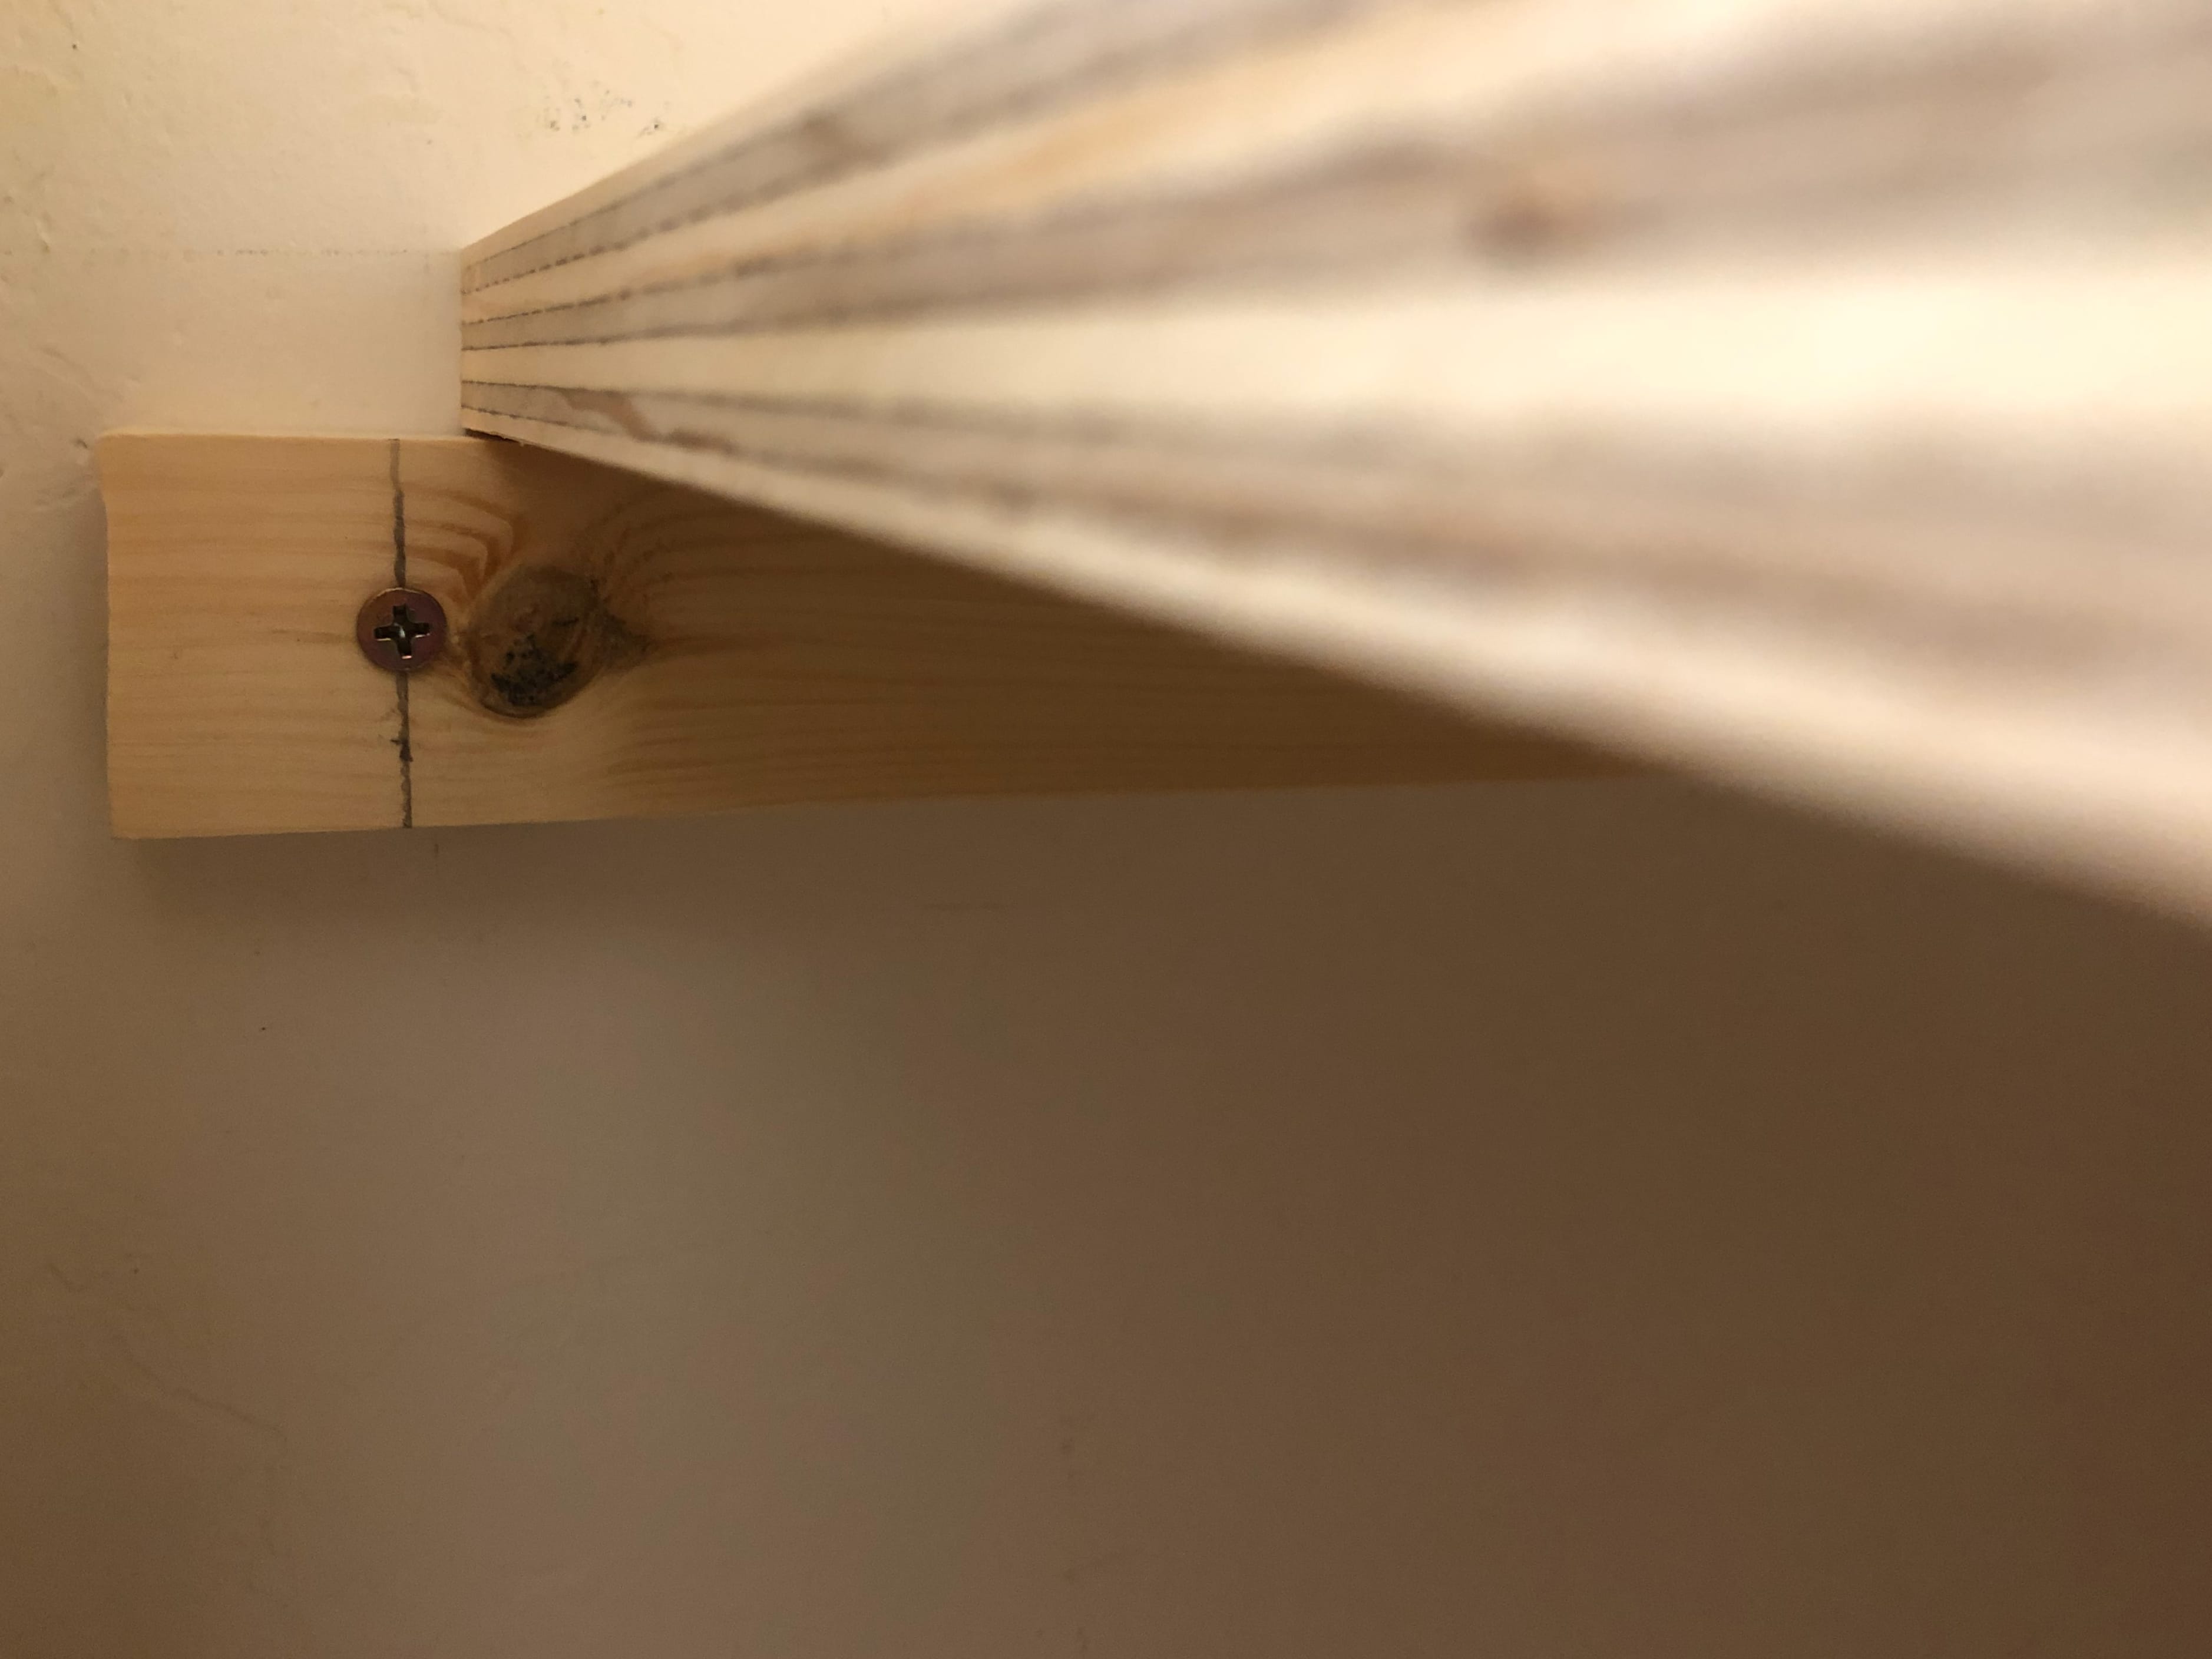
The view from below. I used normal wood screws to attach the boards to the wall. Time will tell if this is sufficient. In case this is not stable enough: Behind the drywall are some studs at exactly the same position.
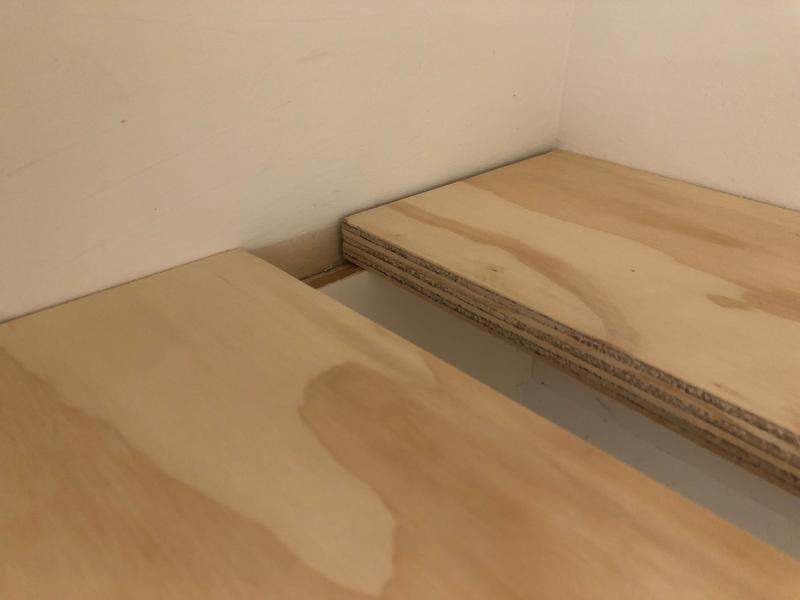
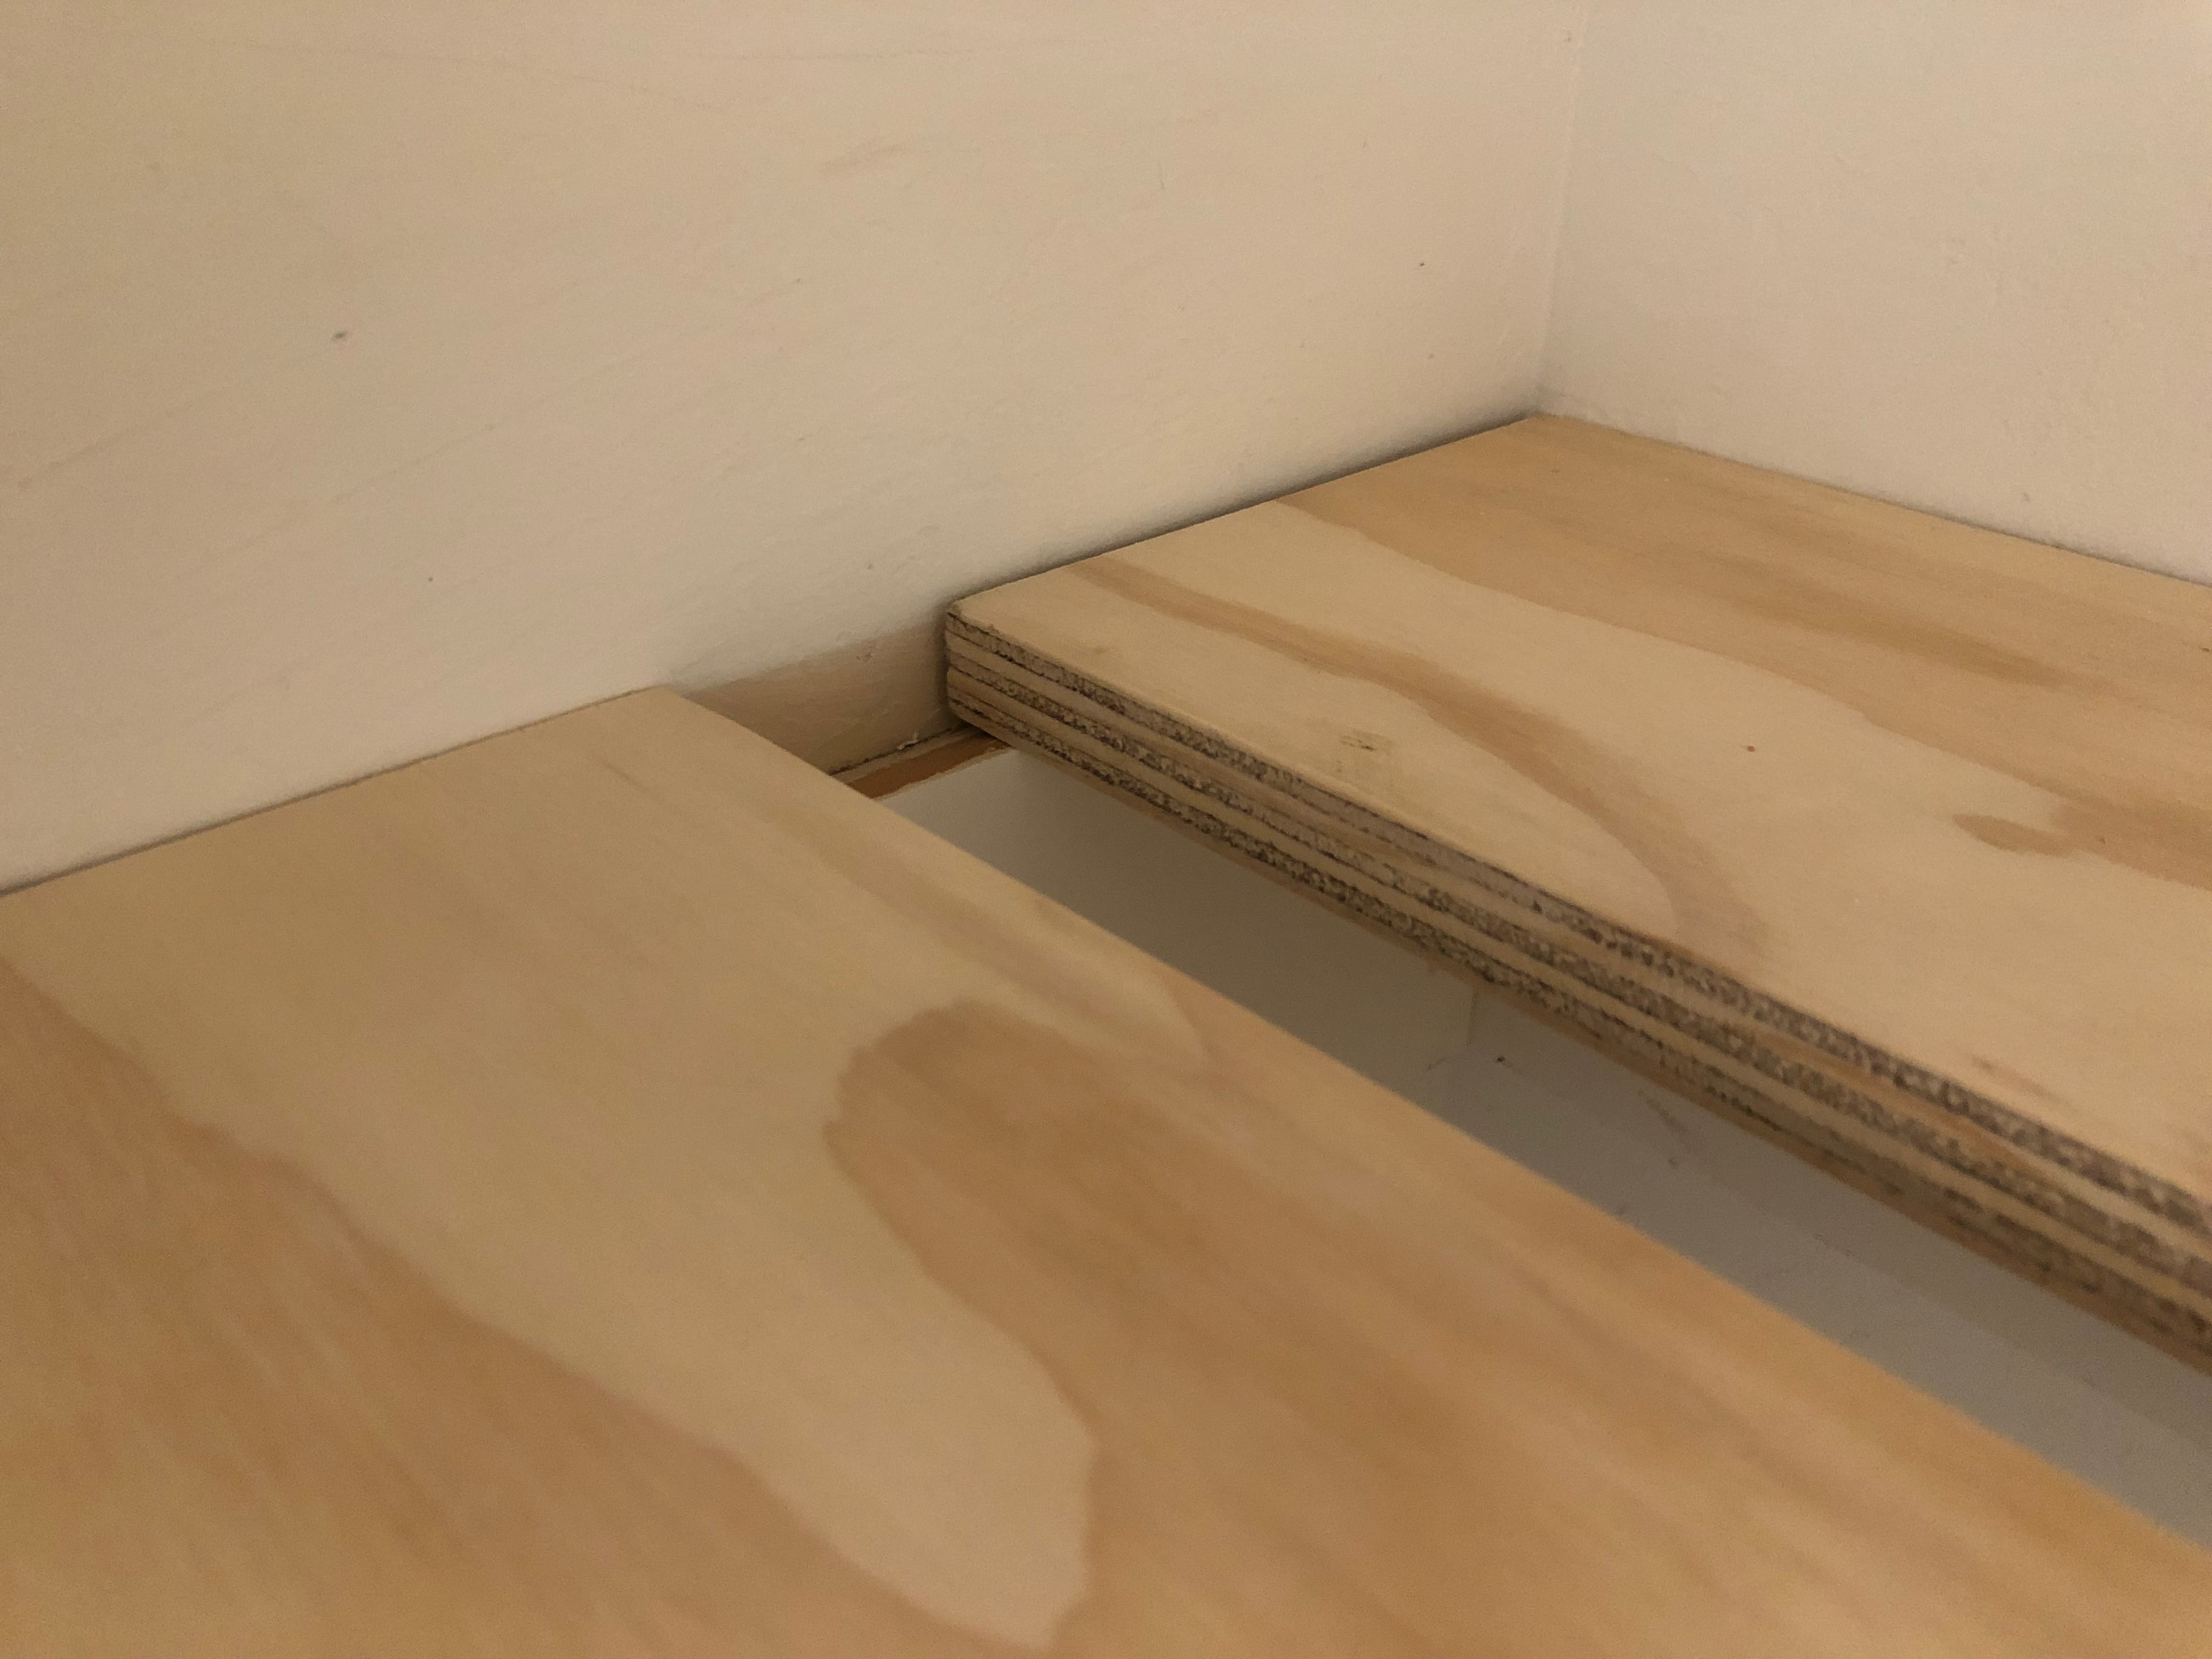
I chose to have some board divided in the middle and not spanning the whole depth of the closet. This allows flexibility and also to store bigger items.